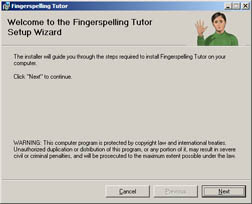
1. Insert CD in your CD-drive. The Fingerspelling Tutor Setup Wizard should start automatically.
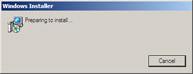
You will first see the Windows installer screen .
If the setup wizard does not start automatically, go to Start > My Computer, then double-click on the drive containing the CD. A Windows Installer will appear temporarily followed by the Tool Setup Wizard.
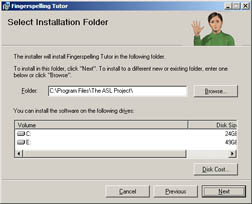
If you are not sure, just click “Next.” If you want to install it somewhere else, use the “Browse” button to choose the location.
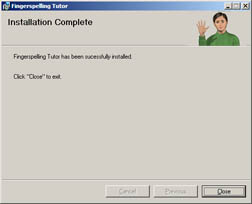
You are now ready to use Fingerspelling Tutor! See the "Getting Started" pages for tips on using the software.